European · 25 min · Medium · 2 servings
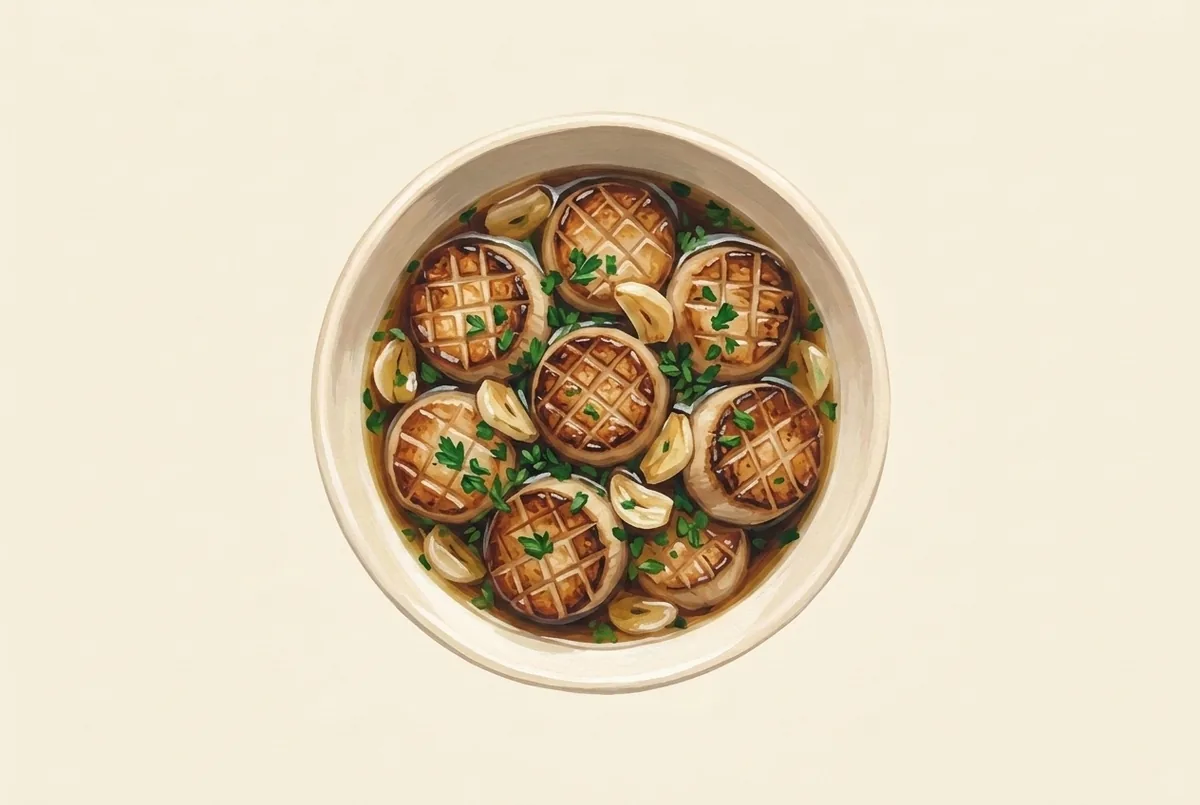
Seared Mushroom Scallops
Be the first to rate this recipe
Flames are how much people loved it, not how spicy it is.Thick discs cut from king oyster stems, scored in a crosshatch so they drink up a nori and miso brine, then seared hard until the cut faces caramelize. The sea flavor comes from the brine, not the shape, which is the step most versions leave out.
~260 cal per serving. Calories are approximate, per serving — a guide only.
Method
- 1
Cut and score the stems
Cut the stems into rounds a little thicker than your thumb, discarding the caps or saving them for another dish. Score a shallow crosshatch into both flat faces of each round, cutting no more than a third of the way through, so the brine has somewhere to go and the seared face crisps into ridges.
- 2
Brine them
⏱ 10 minTear the nori into small pieces and put it in a bowl with the miso, soy sauce and enough warm water to cover the rounds. Whisk until the miso dissolves, add the rounds and turn them so every cut face is wet. Leave them to sit while the pan heats.
- 3
Sear the cut faces
⏱ 5 minHeat the olive oil in a skillet over medium-high until it shimmers. Lift the rounds out of the brine, letting them drip, and lay them scored side down in one layer. Leave them alone until the underside is deep golden and the scored lines have gone dark, then turn them and do the same on the other side.
- 4
Butter, garlic, lemon
⏱ 2 minDrop the butter into the pan with the sliced garlic and let it foam, tilting the pan and spooning the buttery garlic over the rounds until it smells sweet and nutty. Take the pan off the heat, add the lemon juice and parsley, season, and serve while the edges are still crisp.
Notes
Only the stems work: the caps are too thin to hold a crosshatch. Buy the fattest king oysters you can find, since a narrow stem gives you coins rather than scallops. If the pan is not properly hot the rounds steam in their own brine and never color.